

Disassembling a hydraulic tower crane for transportation is a complex and critical process that requires careful planning, specialized knowledge, and strict adherence to safety protocols. As a supplier of Hydraulic Tower Crane, I have witnessed firsthand the importance of proper disassembly to ensure the safe and efficient relocation of these powerful machines. In this blog post, I will guide you through the step-by-step process of disassembling a hydraulic tower crane for transportation, highlighting key considerations and best practices along the way.
Pre-Disassembly Planning
Before you begin the disassembly process, it is essential to conduct a thorough pre-disassembly planning phase. This involves assessing the crane's condition, reviewing the manufacturer's documentation, and obtaining any necessary permits or approvals. Here are some key steps to take during the pre-disassembly planning phase:
- Inspect the Crane: Conduct a comprehensive inspection of the crane to identify any potential issues or damage that may affect the disassembly process. Check for signs of wear and tear, loose or damaged components, and any other safety hazards.
- Review the Manufacturer's Documentation: Carefully review the crane's operating manual and disassembly instructions provided by the manufacturer. This will ensure that you follow the correct procedures and guidelines for disassembling the crane safely and efficiently.
- Obtain Necessary Permits and Approvals: Depending on the location of the crane and the transportation route, you may need to obtain permits or approvals from local authorities. This may include permits for road transportation, oversize loads, and crane disassembly.
- Develop a Disassembly Plan: Create a detailed disassembly plan that outlines the sequence of steps, the tools and equipment required, and the estimated time and resources needed for the disassembly process. This will help you stay organized and ensure that the disassembly is completed on schedule.
Disassembly Process
Once you have completed the pre-disassembly planning phase, you can begin the disassembly process. The following is a general overview of the steps involved in disassembling a hydraulic tower crane for transportation:
Step 1: Prepare the Crane for Disassembly
- Shut Down the Crane: Before you begin disassembling the crane, make sure it is shut down and all power sources are disconnected. This will prevent any accidental movement or operation of the crane during the disassembly process.
- Lower the Jib and Counter-Jib: Use the crane's hydraulic system to lower the jib and counter-jib to the ground. This will reduce the overall height of the crane and make it easier to transport.
- Remove the Load and Counterweights: Carefully remove any loads or counterweights from the crane. This will reduce the weight of the crane and make it easier to disassemble and transport.
Step 2: Disconnect the Hydraulic System
- Locate the Hydraulic Hoses and Fittings: Identify the hydraulic hoses and fittings that connect the various components of the crane's hydraulic system. Use a hydraulic hose cutter or a suitable tool to disconnect the hoses and fittings.
- Drain the Hydraulic Fluid: Once the hoses and fittings are disconnected, drain the hydraulic fluid from the system. This will prevent any spills or leaks during the disassembly process.
- Cap the Hydraulic Hoses and Fittings: To prevent dirt and debris from entering the hydraulic system, cap the open ends of the hoses and fittings with protective caps or plugs.
Step 3: Remove the Tower Sections
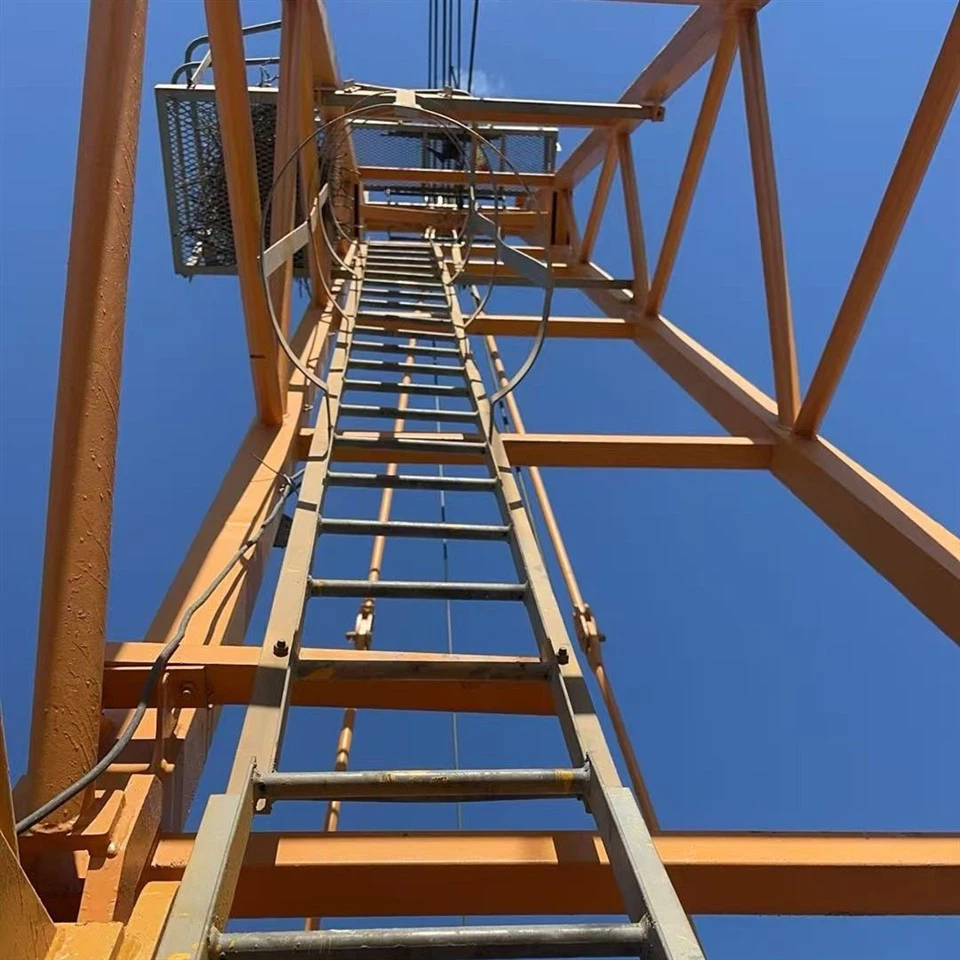
- Loosen the Tower Bolts: Use a torque wrench or a suitable tool to loosen the bolts that connect the tower sections. Start from the top of the tower and work your way down, removing one section at a time.
- Lower the Tower Sections: Once the bolts are loosened, use a crane or a suitable lifting device to lower the tower sections to the ground. Make sure to support the sections properly to prevent any damage or collapse.
- Label and Store the Tower Sections: As you remove each tower section, label it with a unique identifier and store it in a safe and secure location. This will make it easier to reassemble the crane at the new location.
Step 4: Disassemble the Jib and Counter-Jib
- Remove the Jib and Counter-Jib Sections: Use a crane or a suitable lifting device to remove the jib and counter-jib sections from the crane. Start from the end of the jib and work your way back, removing one section at a time.
- Disconnect the Jib and Counter-Jib Fittings: Once the sections are removed, disconnect the fittings that connect the jib and counter-jib to the crane. This may include pins, bolts, or hydraulic connections.
- Label and Store the Jib and Counter-Jib Sections: As you remove each jib and counter-jib section, label it with a unique identifier and store it in a safe and secure location. This will make it easier to reassemble the crane at the new location.
Step 5: Remove the Cab and Other Components
- Remove the Cab: Use a crane or a suitable lifting device to remove the cab from the crane. Make sure to disconnect any electrical or hydraulic connections before removing the cab.
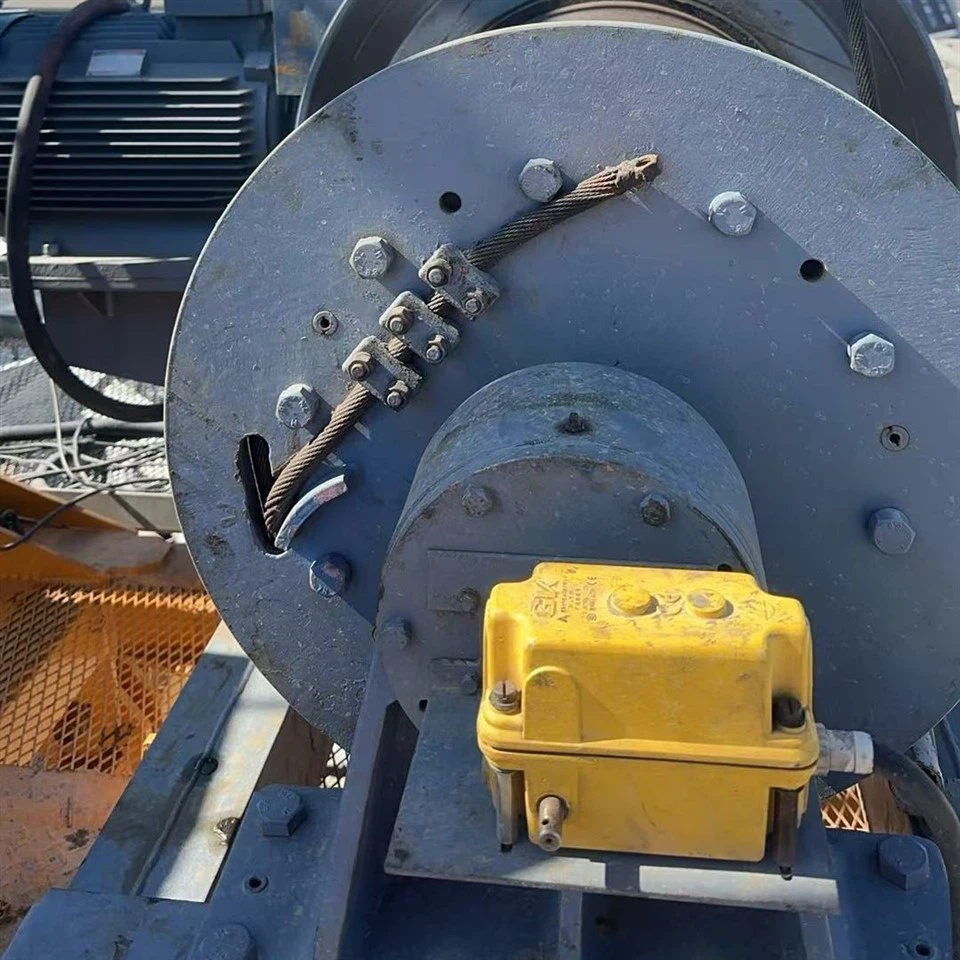
- Remove the Other Components: Remove any other components of the crane, such as the hoist, trolley, and winch. Follow the manufacturer's instructions for disassembling these components safely and efficiently.
- Label and Store the Components: As you remove each component, label it with a unique identifier and store it in a safe and secure location. This will make it easier to reassemble the crane at the new location.
Transportation and Reassembly
Once the crane is disassembled, it is ready for transportation to the new location. Here are some key considerations for transporting and reassembling the crane:
- Transportation: Use a suitable transportation method, such as a flatbed truck or a semi-trailer, to transport the disassembled crane components to the new location. Make sure to secure the components properly to prevent any damage or movement during transportation.
- Reassembly: Follow the manufacturer's instructions for reassembling the crane at the new location. Make sure to use the correct tools and equipment and follow all safety procedures.
- Testing and Commissioning: Once the crane is reassembled, conduct a thorough testing and commissioning process to ensure that it is operating safely and efficiently. This may include load testing, hydraulic system testing, and electrical system testing.
Conclusion
Disassembling a hydraulic tower crane for transportation is a complex and challenging process that requires careful planning, specialized knowledge, and strict adherence to safety protocols. By following the steps outlined in this blog post and working with a qualified and experienced team, you can ensure that the disassembly, transportation, and reassembly of the crane are completed safely and efficiently.
If you are in the market for a Hydraulic Tower Crane, Hammerhead Boom Crane, or Jack Up Tower Crane, please feel free to contact us to discuss your specific requirements. Our team of experts is dedicated to providing high-quality cranes and exceptional customer service. We look forward to working with you to meet your lifting needs.
References
- Manufacturer's operating manual and disassembly instructions
- Industry standards and guidelines for crane disassembly and transportation
- Local regulations and permits for crane disassembly and transportation


